Basic Usage
To use the Realtime Destructible Mesh plugin, you need to prepare the Realtime Destructible Mesh Component and the Destruction Projectile Component.
Add the Realtime Destructible Mesh Component to a Blueprint Actor or an Actor placed in the Level.
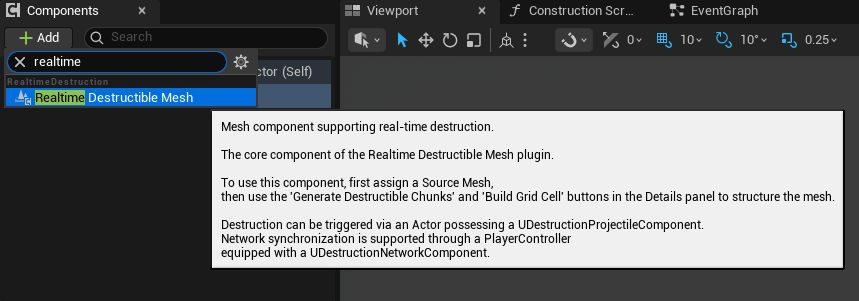

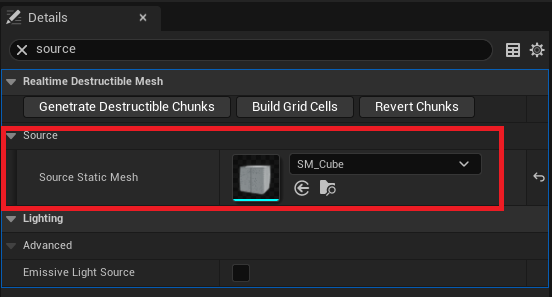
Go to the Details panel and assign the Static Mesh to be used in the Source Static Mesh property.
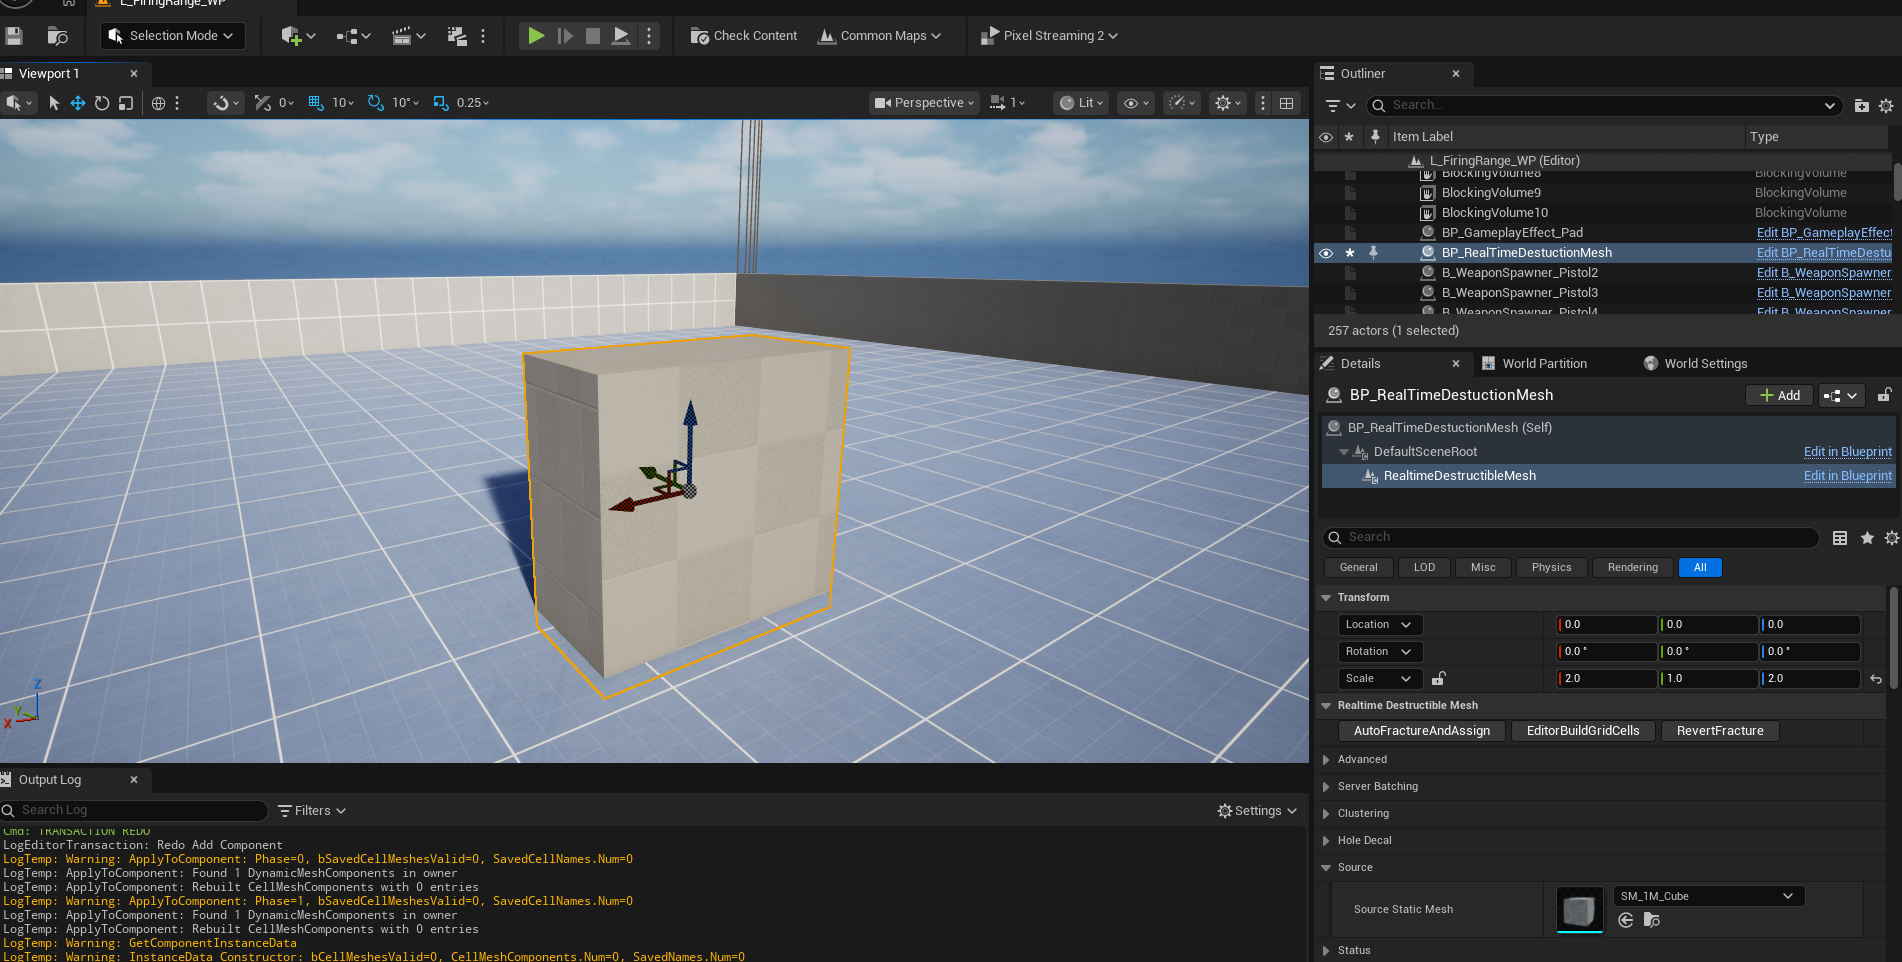
* If you created it as a Blueprint Actor, the following steps must be performed after placing the Actor in the Level.
Adjust the transform of the Realtime Destructible Mesh Component.
The Realtime Destructible Mesh plugin manages the original mesh by splitting it into several rectangular prism-shaped chunks to improve calculation speed. Set the number of chunks for the x, y, and z-axes via the SliceCount property and press the Generate Destructible Chunks button to create the Chunk structure.
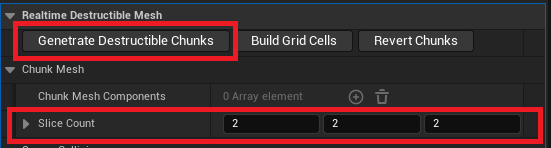
*The number of chunks should be adjusted considering the mesh size, and a value of 4 or less is recommended for each axis.
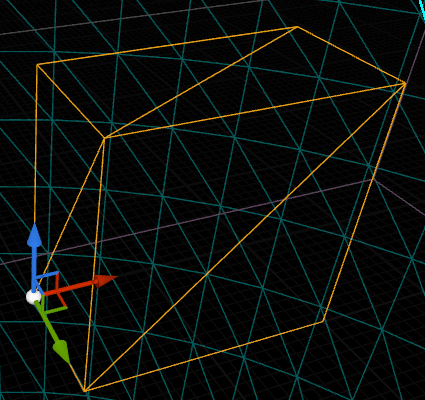
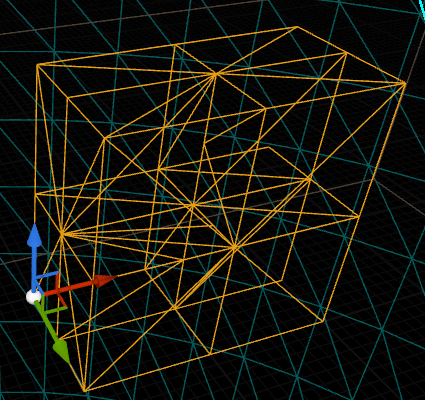
▲ The source mesh, a rectangular prism, split into 2x2x2 chunk meshes
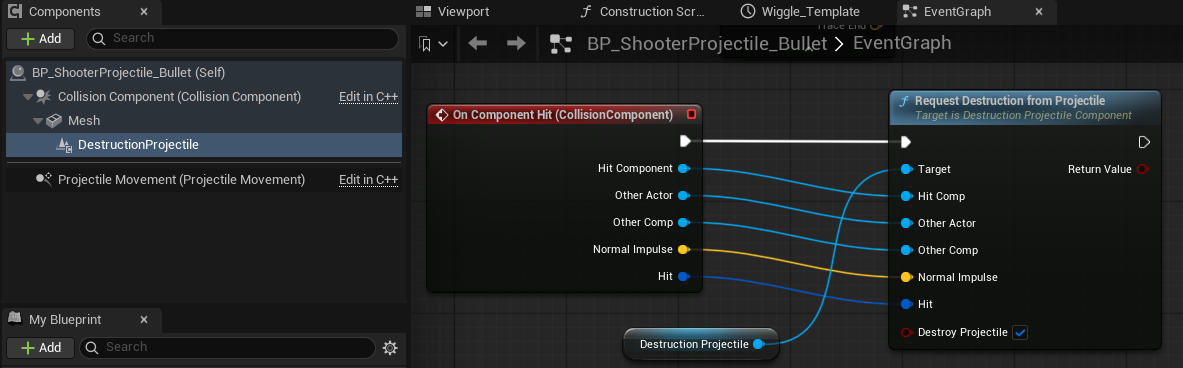
The Destruction Projectile Component is responsible for triggering the destruction of the set-up Realtime Destructible Mesh Component.
The most common method of use is to add the Destruction Projectile Component as a child of the bullet’s collision component and call it through the On Component Hit event, as shown below.
If you adopt a hitscan method and there is no separate projectile, you can consider adding DestructionProjectile to the Player Actor and calling Request Destruction from Projectile. 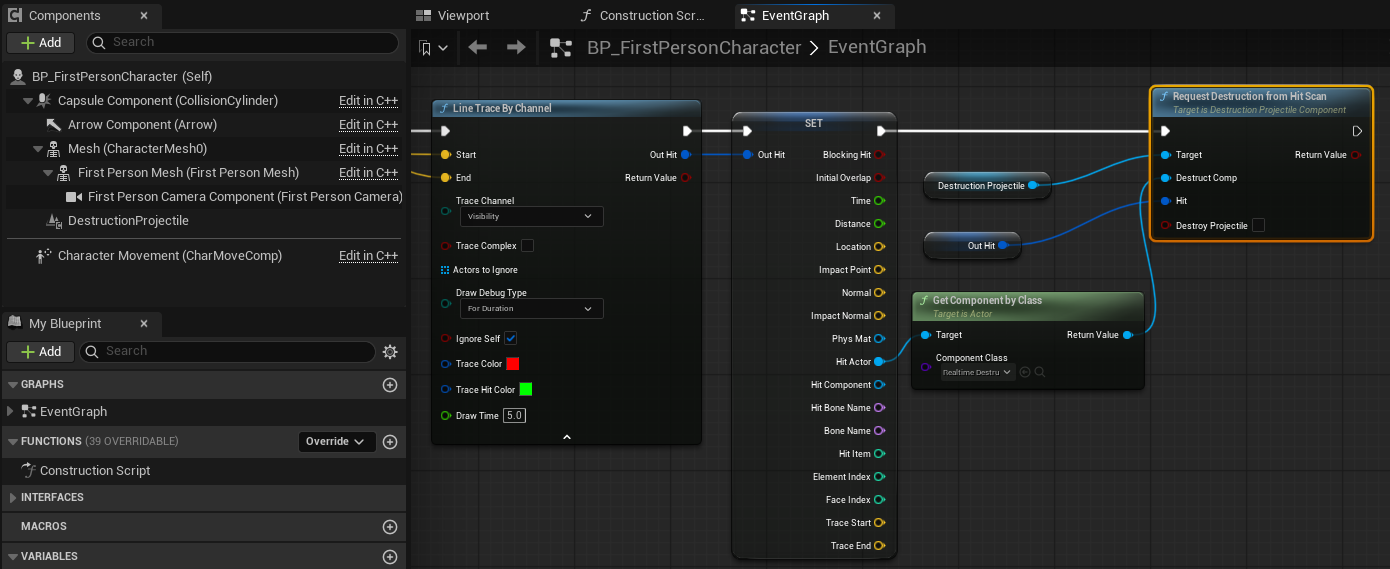
If you want to use the C++ Raw API directly, enable the Auto Bind Hit checkbox in the DestructionProjectile’s details panel.

*Currently, only Raw API calls for projectiles are supported. Add the DestructionProjectile component as a child of the projectile’s collision component.