Advanced: Anchor Editor
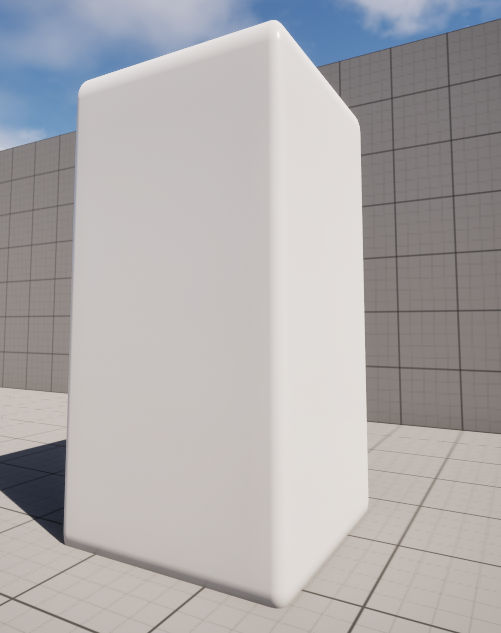
As destruction accumulates on a mesh, fragments that are not supported underneath can float in the air. These are called mesh islands. The Realtime Destructible Mesh plugin includes a structural integrity system that detects mesh islands and either spawns them as separate fragments or deletes them.
To detect mesh islands, the mesh is internally approximated by numerous rectangular prism-shaped cells, some of which become anchors that support the mesh structure. The structural integrity system basically assumes that the cells forming the bottommost layers (in the -z direction) of the mesh are anchors. (This varies depending on the settings.)
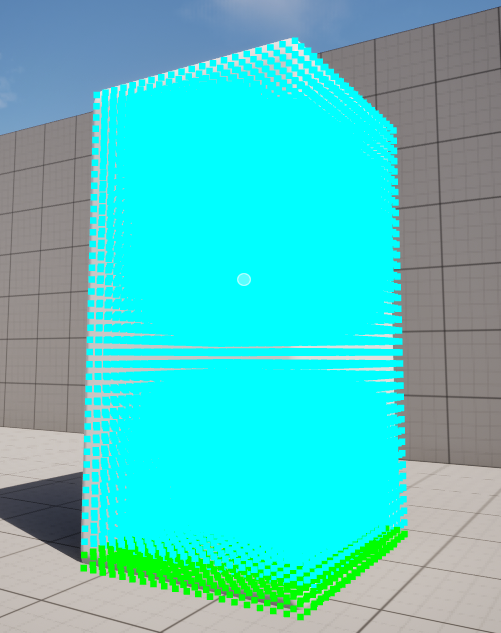
▲ A view showing the cells of the Realtime Destructible Mesh. Light green cells are anchor cells.
However, there may be cases where the anchor needs to be set to the side or top, such as for a wall sign. In such cases, you can freely specify anchor cells using the Anchor Editor. Select Anchor Editor in the Editor mode selector.
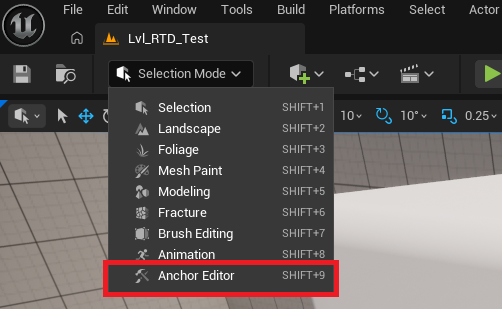
Selecting Anchor Editor displays the Anchor Editor panel.
Pressing the Spawn Anchor Plane or Spawn Anchor Volume button creates a plane or box volume for specifying the anchor area. Adjust the anchor plane or anchor volume to overlap with the Realtime Destructible Mesh, and then pressing the ApplyAllAnchorPlanes / ApplyAllAnchorVolumes / ApplyAnchors buttons designates the cells within the overlapping area of the anchor shape and the mesh as anchors.
The picture below shows the result of spawning an Anchor Volume, moving the anchor box to overlap with the side of the mesh, and applying Apply All Anchor Volumes. 2945 cells have been designated as anchors.
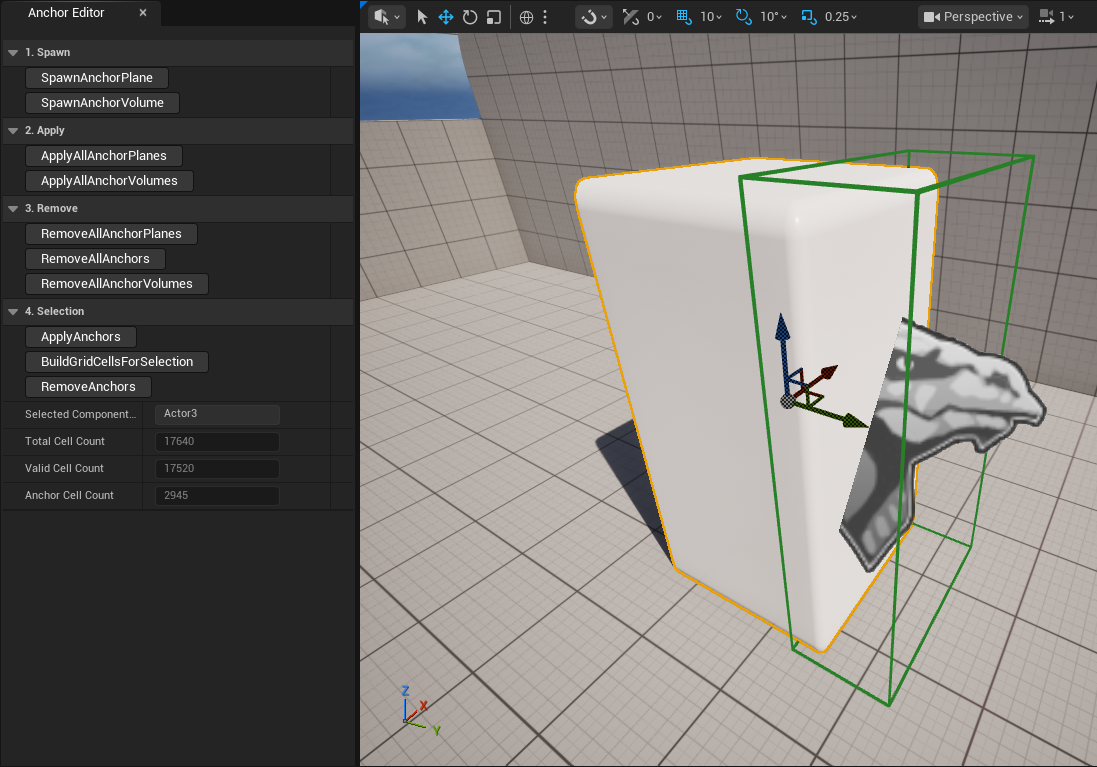
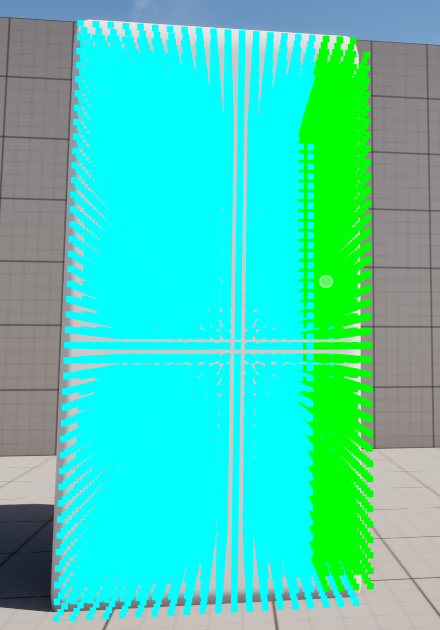
▲ You can confirm that the anchors are set correctly by turning on Grid Cell Debug.